When your garden is bursting at the seams with tomatoes, this is an incredibly tasty way to eat them up. This is also a good way to use tomatoes that are starting to go bad on one side, but are just fine on the other side. Toss the bad bits in the compost and throw the rest in the soup.

Ingredients:
Couple tablespoons of olive oil
1 medium - large onion or 2 - 3 cloves garlic... or both
Lots and lots of tomatoes
1/2 - 1 cup bone broth
salt and pepper to taste
1 cup cream
fresh basil to taste


Directions: 
1. Pour some olive oil into the bottom of a soup pot set over medium heat. Add diced onions/garlic. While that is simmering, begin chopping and adding tomatoes. I essentially keep adding tomatoes until a. I've reached about three quarters of the way up the pot and don't want the soup to bubble out or b. I've run out of tomatoes. Stir and simmer while you continue to chop and add.

2. Once you've decided to stop adding tomatoes, add the bone broth and let the tomatoes simmer for about 10 - 15 minutes. This gives the tomatoes a chance to break down and become soupy. Add salt and pepper and if you want a little heat, add a little of your favorite spicy additive now.

3. Once the tomatoes have broken down to a consistency that looks soupy, add the cream and basil. Let cook just a few minutes longer and serve. 

Meaty Spanish Rice

This is a great way to use fresh tomatoes in the fall. So you'll note that there's an "or" in the ingredients depending on the time of year.

It's also a good way to use up leftover rice.

Ingredients:
1 pound of beef
1 medium onion or half a large onion (or more if you really like onions)
1-3 cloves of garlic, minced
5-15 fresh tomatoes, diced (depending on the size of the tomatoes and how tomatoey you want your rice to be)
or 1 6 oz. can of tomato paste and 1 14 oz. can diced tomatoes
1/2 - 1 cup homemade bone broth
1 teaspoon salt
pepper
couple of dashes of chili powder and cumin
2-4 cups rice... whatever you have leftover

Directions:
1. Brown the beef. When beef is nearly done, add onion and garlic.
2. Add the tomatoes or cans of tomato paste/chopped tomatoes, bone broth, salt, pepper and chili and let simmer for about 10 minutes.
3. Add the rice, let simmer another 5 minutes.

When reheating, add about 1/4 - 1/2 cup more broth so that the rice doesn't scorch on the bottom of the pan. This also adds in more of the good, tummy healing stuff that's in the bone broth. 

Chicken/Shrimp Curry


Ingredients
2 cups rice
2 tablespoons of butter or olive oil
1 small or medium onion, chopped
1/2 teaspoon ground ginger or a small piece of chopped up fresh ginger
2 - 3 tablespoons of Thei red curry paste
1 can coconut milk
1 cup bone broth
vegetables (broccoli, peppers, green beans, etc.)
1 tablespoon fish sauce
2 tablespoons Bragg's liquid aminos
chicken or shrimp (I use 2 chicken breasts or about 2 cups shrimp.)

Directions
1. Put rice into a sauce pan and add twice as much water. (2 cups rice, 4 cups water) Bring to a boil. Once it's boiling, turn the temperature down low (to about 3) and let simmer until the water is gone. While the rice is cooking, begin the curry.

2. In a stainless steel fry pan, heat oil on medium heat (around 5).

3. Chop up onion and add it to the oil. Let it cook, stirring every minute or so, until the onion is soft and translucent.

4. Add ginger, curry paste (or curry powder if we're out of paste), coconut milk, and broth.

5. Add vegetables (either fresh chopped or frozen) and let cook over medium heat.

Chicken Curry Directions...
6. In a separate pan, fry up chunks of chicken in a few tablespoons of oil. Stir the chicken occasionally. Cook until lightly browned.

7. If everyone wants chicken in their curry, then add it to the vegetable mixture.

8. Add fish sauce. I know it smells horrible, but it's going to make the curry taste good. And add the Braggs.

9. Serve.

Shrimp Curry Directions...
6. Allow the curry to simmer about 15 minutes.

7. Add the shrimp, fish sauce, and liquid aminos. Cook until the shrimp is pink. (Or, if it was precooked and already pink, then until it's thawed.) Don't overcook shrimp! It'll be too chewy then. But you also don't want any translucent blue bits on the shrimp. That means it's still raw.

8. Serve.

Pineapple Chili


Ingredients
1/2 package of bacon
1 pound of ground beef (one brick of beef - preferably thawed in advance)
1 medium onion, diced
1 bell pepper, diced
1 large clove or 2 small cloves garlic - minced
1 teaspoon chili powder
1 teaspoon cumin
2 teaspoons salt
1 teaspoon pepper (or just grind pepper over the dish 5 or 6 times)
1 can tomato sauce OR 1 can tomato paste plus 1 1/2 cups bone broth
1 can diced tomatoes
1 can pineapple chunks

Directions
1. Cut the bacon into little slices (cutting perpendicular to the length of the bacon strips). Fry these up in a cast iron pan for about 5 minutes on medium heat (around 5 on the dial).

2. Add the ground beef and let cook until fully browned, stirring occasionally so that the meat doesn't burn on the bottom. Begin cutting up the vegetables while the meat is browning.

3. Add the onion, bell pepper, and garlict o the meat. Let cook for a few minutes, stirring occasionally.

4.  Add the chili powder, cumin, salt and pepper. Stir.

5. Add tomato sauce (or tomato paste plus broth), diced tomatoes, and pineapple chunks.

6. Your chili is essentially done at this point. But if you have time to let is simmer (3 or 4 on the dial) for 30 - 45 minutes, that will allow the flavors to blend together.


This recipe is a modified version of the Spicy Pineapple Chili by Civilized Caveman Cooking. 
One of our new favorites is gumbo. None of us like okra on its own. But in gumbo, it's actually quite good. I really like Whole Foods frozen okra. It has a very fresh taste. 

And peppers are a must. I made this once and didn't have any peppers on hand. It just wasn't the same. 


INGREDIENTS

4 tablespoons oil (I've used olive oil or butter.)
1 onion, diced
1 cup diced bell peppers
½ cup diced celery
4 tablespoons coconut flour
1 six ounce can tomato paste
1 teaspoon paprika
¼ teaspoon cayenne
6 garlic cloves, minced or sliced
Salt and pepper
1 can diced ripe tomato or 1 cup fresh
6 ounces andouille sausage, in 1-inch-thick slices
6 cups broth (Bone broth is best. Any kind will do.)
2 cups chopped okra (Whole Foods carries excellent frozen okra.)
1 bag shrimp. I've used both large and small. Use what you have.

PREPARATION

1. In a soup pot, heat oil over medium-high heat. Add onion, bell pepper and celery and cook briskly, stirring frequently, until lightly browned, about 8 minutes.

2. Sprinkle in coconut flour and stir to combine. Continue cooking for about 5 minutes, stirring.

3. Add tomato paste, paprika, cayenne and garlic. Cook for 1 minute, stirring well, then add diced tomato and andouille sausage and cook for about 2 minutes.

4. Season mixture generously with salt and pepper. Stir in broth and reduce heat to medium. With a wooden spoon, scrape bottom of pot to dissolve any browned bits. Simmer for about 25 minutes, until gumbo base thickens somewhat. Taste and adjust salt. (You may prepare gumbo base up to this point several hours ahead; bring it back to a brisk simmer before continuing.)

5. Add okra and let cook until softened, about 5 minutes. Add shrimp and cook for 2 minutes more.

6. Serve with rice.

Modified from a New York Times recipe


I've found recipes online for leg of lamb that included mint jelly. But I don't have any mint jelly and I'm not interested in buying any. So I made my own version of lamb with mint. It was a huge hit with the family. The onions were sweet and caramelized and the lamb was tender and flavorful.

Ingredients
2 onions
1 leg of lamb
1/4 - 1/2 cup fresh mint leaves
1/2 cup honey
2 cloves minced garlic
1/2 cup homemade broth
salt and pepper

Directions
Slice the onions into rings or strips and layer on the bottom of the crock pot. Set the leg of lamb on top of the onions. Pour broth and honey over the lamb. Chop or rip the mint leaves a little and lay across the top of the lamb. Sprinkle garlic, salt and pepper over the lamb. Cook on the lowest setting for 8 - 9 hours. 
"One of the most delicious things I've ever eaten!" 
- Lusia after I had dropped some granola off at her house. You could tell she was a bit skeptical when I first told her what it was. But when she called me later, she said she was having a hard time stopping herself from eating it. 


When we first went gluten free, I started eating Udi's gluten-free granola for breakfast. I had never been a huge granola fan before that, but I found Udi's granola addictively yummy. Then we changed over to a GAPS diet which doesn't allow for any grains at all. Granola was out... until recently when I discovered PaleoKrunch - Grainless Granola by Steve's PaleoGoods. We tried the Apple Pie version and fell in love. But at $7 for a 7.5 oz. bag, it really did a number on our food budget. So I decided that I had to learn to make something similar at home. I fiddled around with the recipe until I finally settled upon the following. Feel free to adjust adding more of less of your favorite nuts or seeds.


Ingredients
2 cup Almond flour/meal
1 1/2 cup Dried coconut flakes (unsweetened)
1 cup Walnuts
1/2 cup Pecans
1/2 cup Honey
1/2 cup Coconut oil
2 teaspoon Powdered cinnamon
1/2 - 1 teaspoon Ginger
1/2 - 1 teaspoon Nutmeg
1/2 - 1 teaspoon Cloves
1/2 - 3/4 c. Raw sunflower seeds
1/2 - 3/4 c. Raw pumpkin seeds
1/2 cup Almond slivers
1/2 cup Raw cashews
1 cup Dried apple slices


Directions
1. In a food processor, blend the almond flour, coconut, walnut and pecans until you have a course powder.
2. Add the honey, coconut oil, and spices and blend until the dough starts to form a ball.
3. Add the sunflower seeds, pumpkin seeds, almond slivers, cashews and apple slices and blend for about one minute more until these ingredients have been added in and somewhat chopped up. The apple slices don't always blend in very well. You may want to chop them into smaller bits before adding.
4. Spread the mixture onto a cookie sheet and cook for about 30 minutes at 250 degrees. The finished product should be lightly browned on the bottom. I often stir the mixture a few times while it's cooking (in which case I don't always get that browned bottom).
5. Let the cooked granola cool and then break it up into smaller chunks.
6. Once the granola is entirely cooled, store it in a glass container.


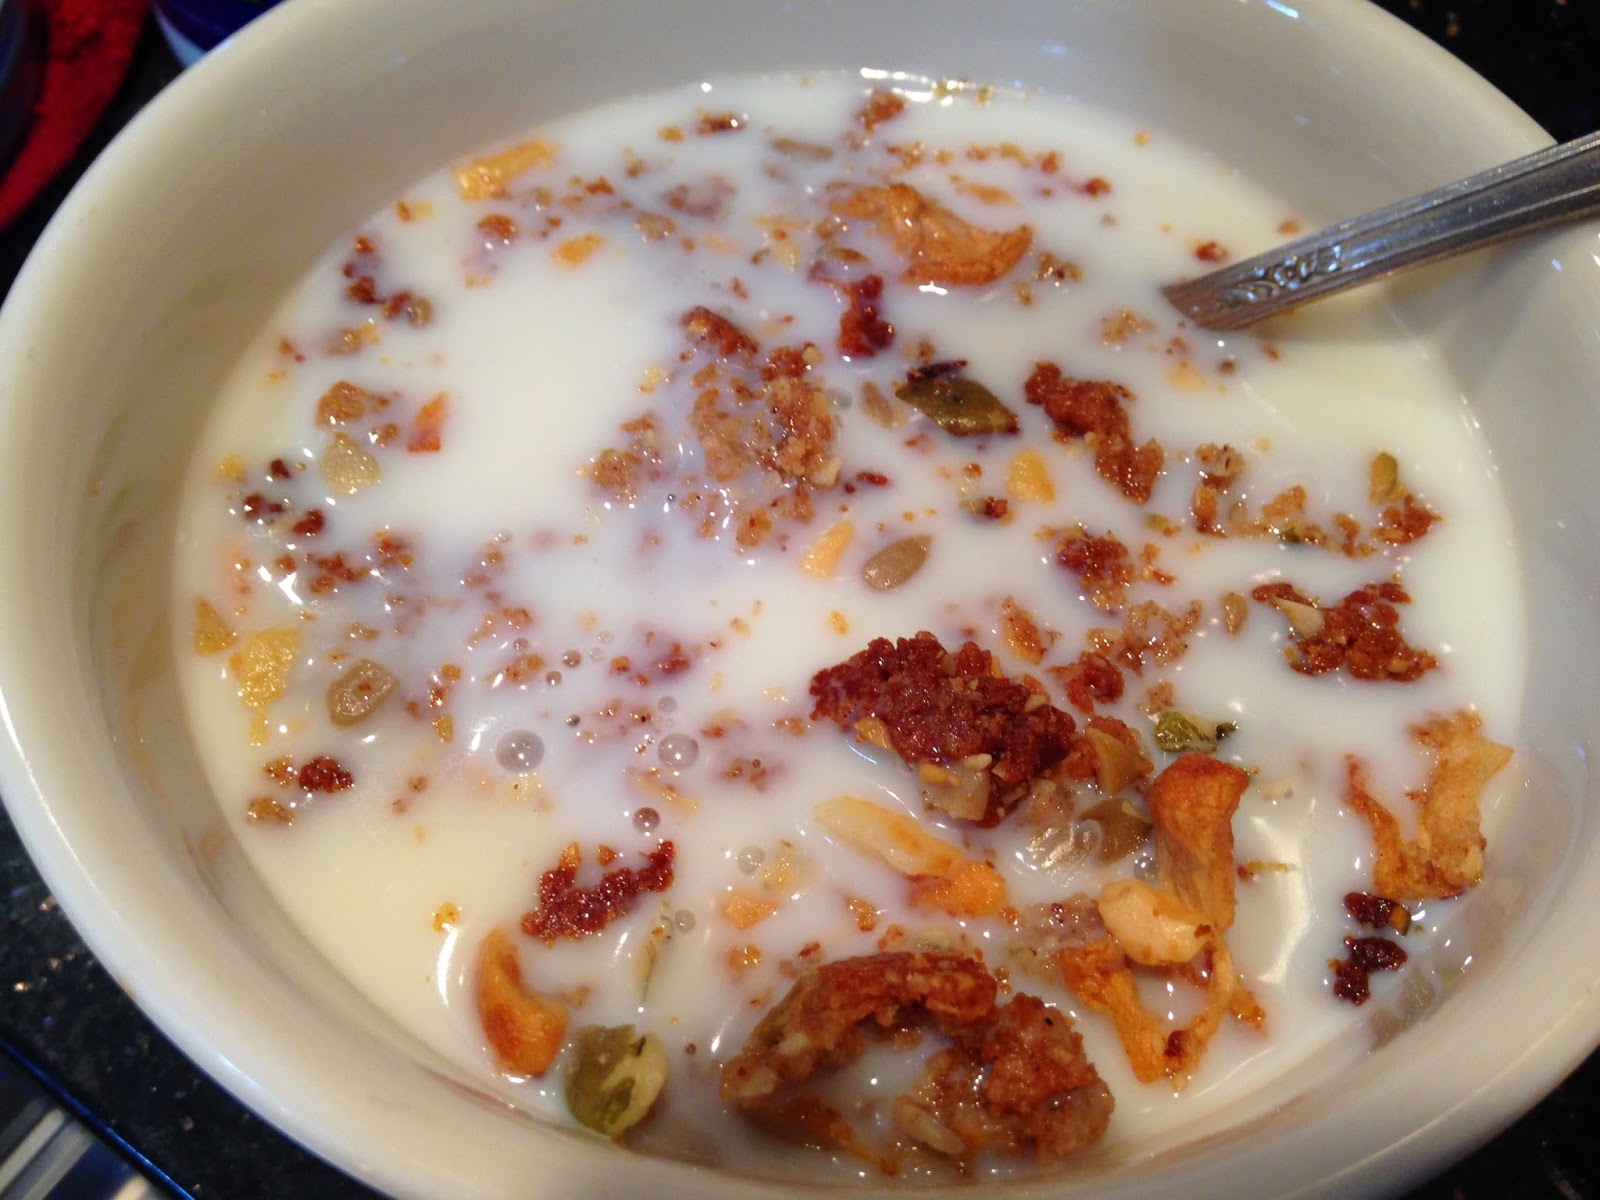
My husband likes to eat the granola over his yogurt. I prefer it in a bowl with lots of raw milk over it. You can adjust the recipe to better suit your tastes. Enjoy!